Can't find what you're looking for?
Start a conversation
Chat conversation only works if you have concented to all cookies. Modify your cookie settings here or send an email to team@twentythree.com
Webinars can have three different statuses. Use Draft mode while you are setting up your webinar. Once you're ready, choose Public to publish your webinar; select Link Only if you want to unlist your webinar and limit access.
After creating a new webinar, you automatically start in draft mode. At this stage, the webinar is not visible to anyone and cannot be shared. This is the ideal mode for adding information and customizing your webinar pages before making it available.

Once everything is ready, click Draft in the orange draft bar and choose between Link Only or Public to make the webinar accessible.
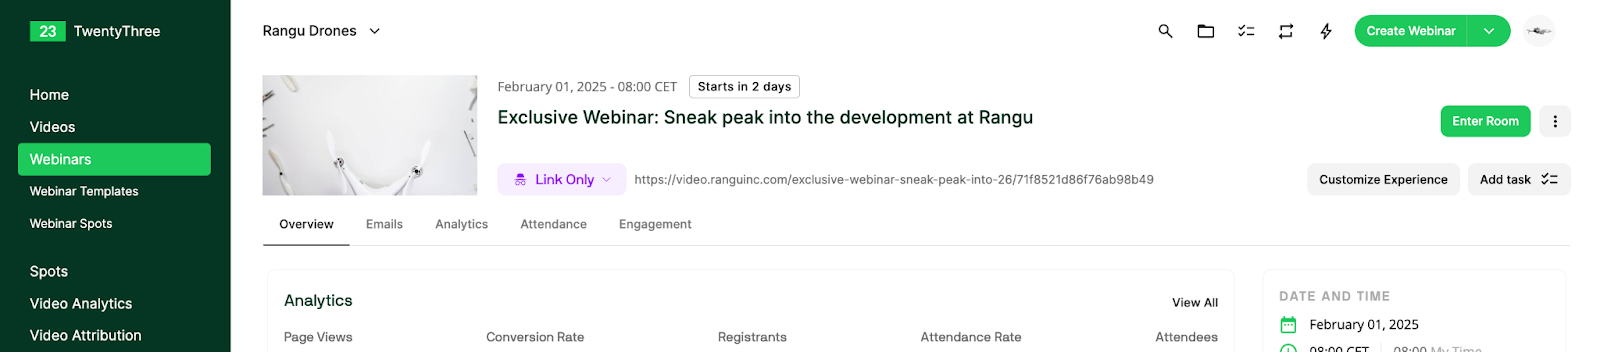
Choosing Link Only ensures that the webinar is not listed on your Webinar Hub. Only people with the private link will be able to find, register, and attend the webinar. This is useful if you want to control access without making the webinar widely visible.
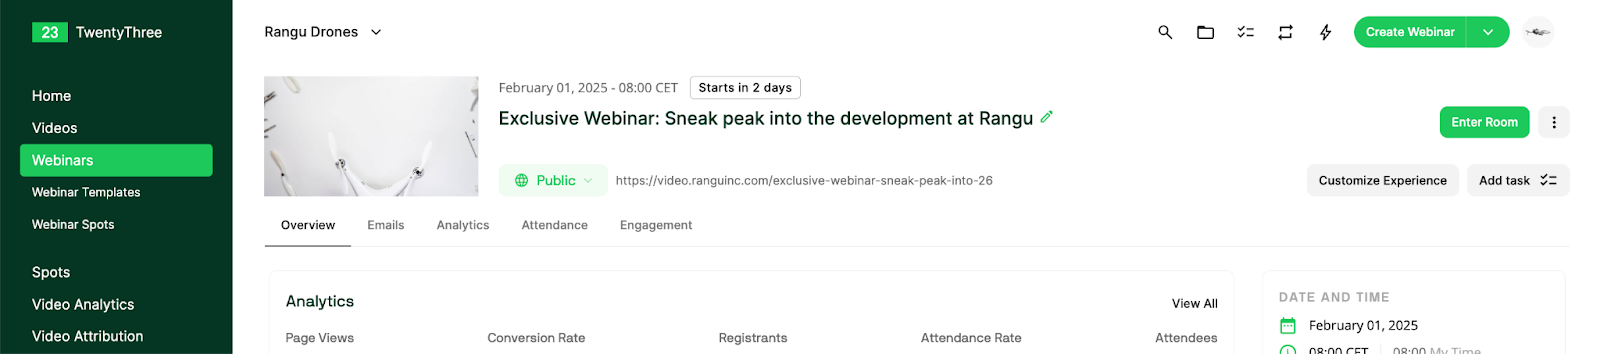
Selecting Public means the webinar will be displayed on your video hub, allowing anyone to sign up and watch.
If needed, you can always revert the webinar back to Draft mode to update information or customize pages. In draft mode, the webinar remains hidden and cannot be shared until it is made Public or Link Only again.
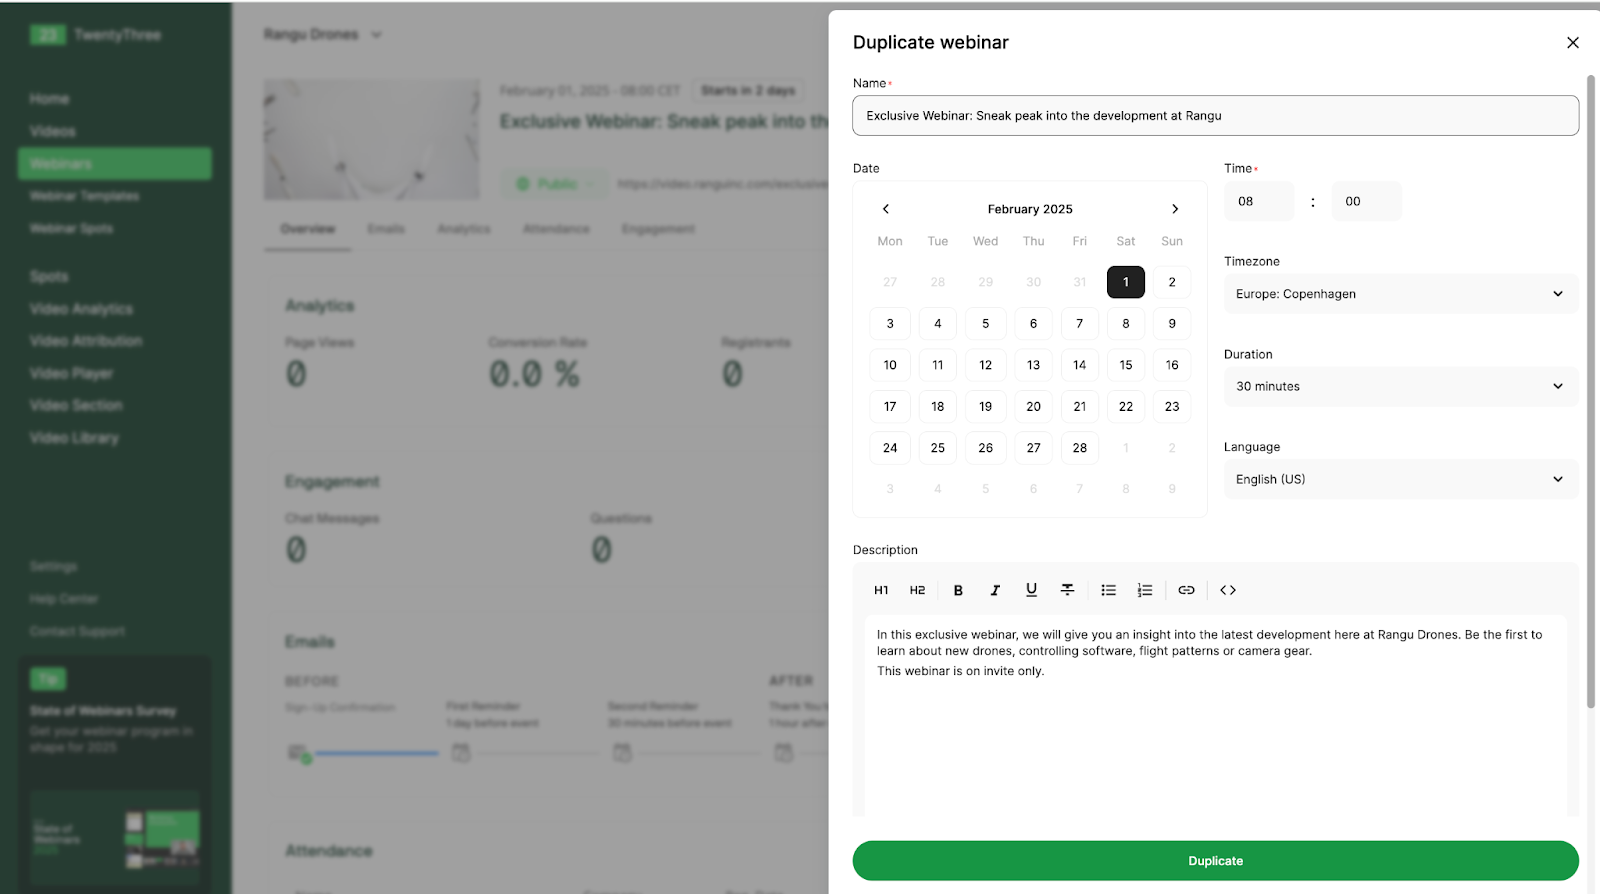
If you need to run another webinar on the same topic with the same speakers, use the Duplicate option. This will copy all information and webinar settings, allowing you to make adjustments as needed.
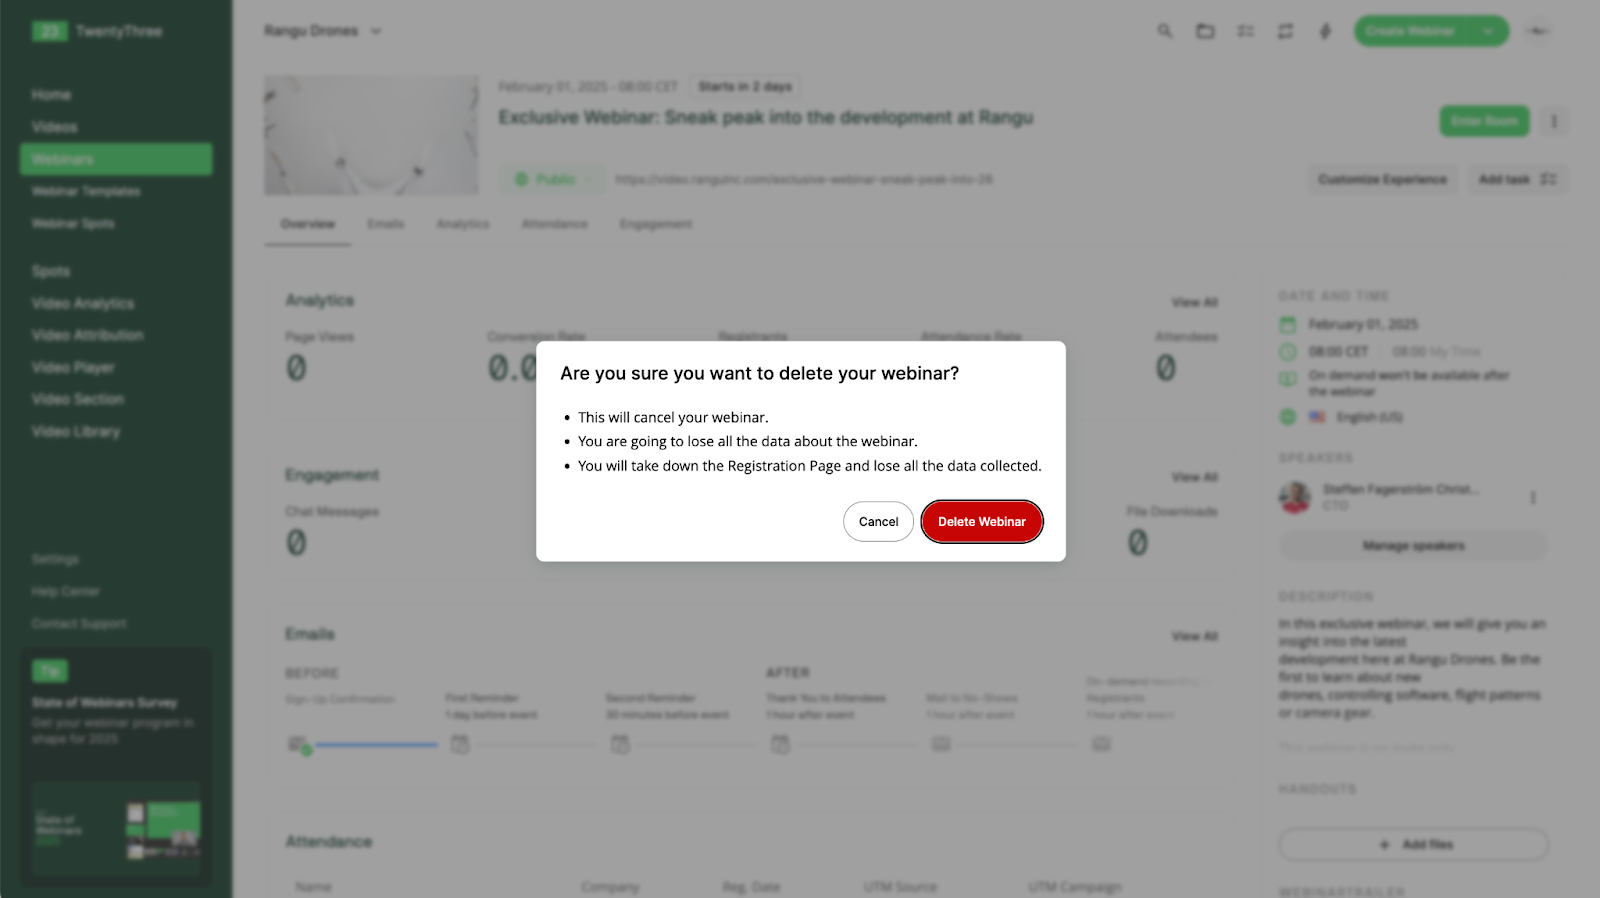
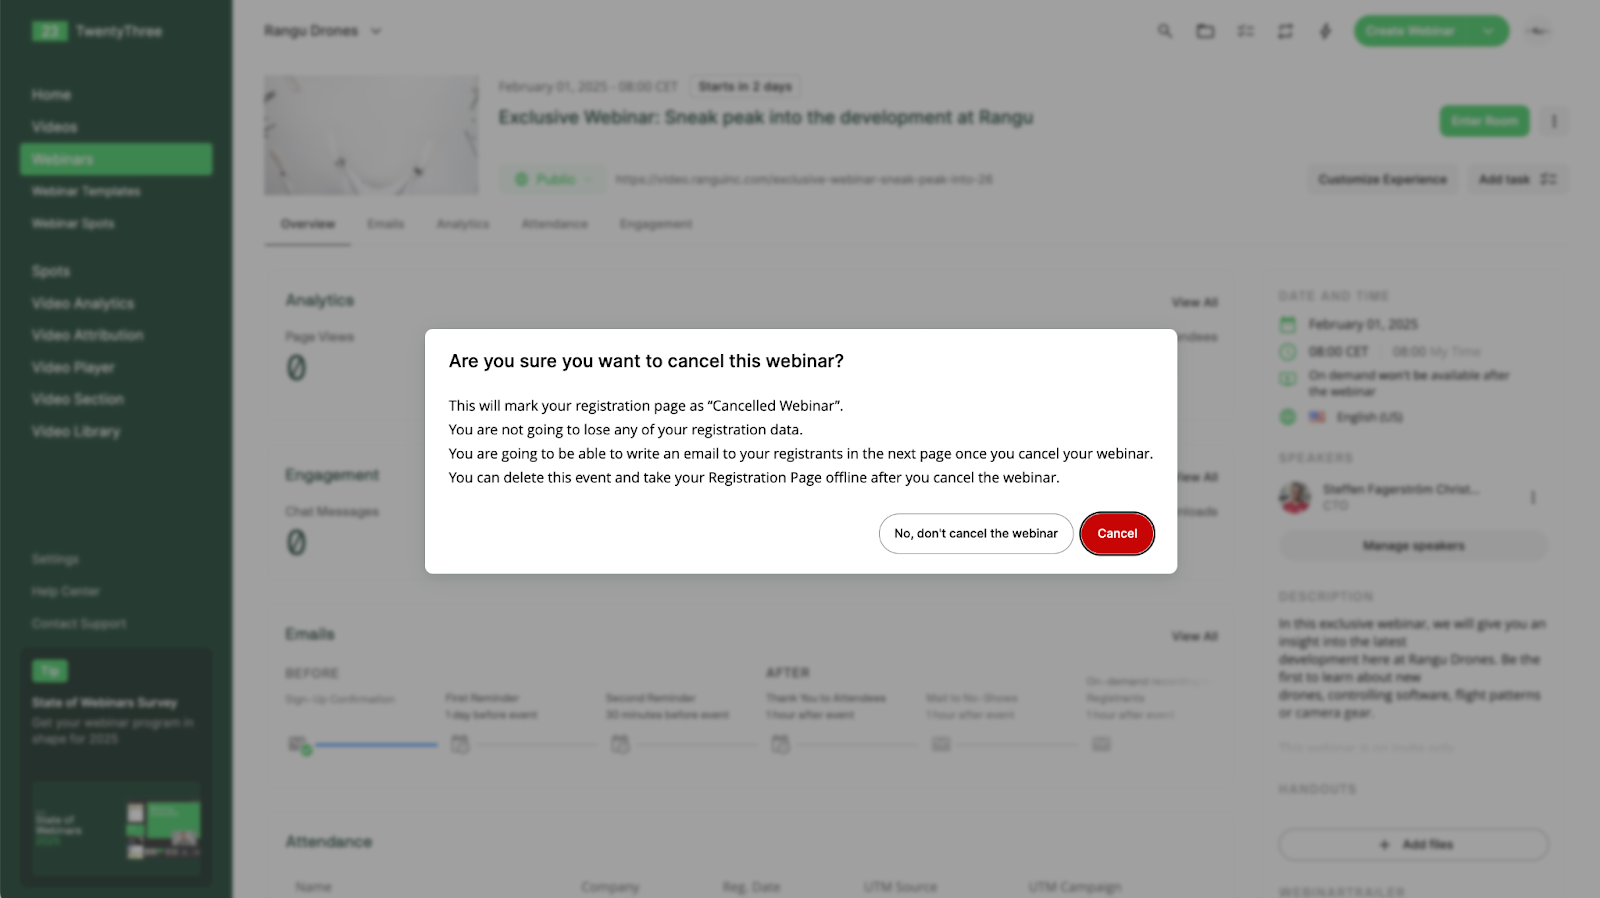
If a webinar needs to be canceled, you can notify registrants via email in the next step.
To remove all webinar information and data permanently, select Delete from the options list.