Customize Experience: Before and After the Webinar
Webinars are a great way to connect and interact with your audience, and TwentyThree offers numerous options to make the experience engaging from start to finish. While preparing for your webinar, you can captivate your attendees even before the session starts, ensuring that waiting becomes an interactive experience. Likewise, after the webinar concludes, you can guide your audience seamlessly to the next step—whether it’s another webinar, a promotional video, or a dedicated landing page.
This article focuses on customizing the waiting room and end experience, but don’t forget that the overall branding and design of the webinar room also play a key role. You can learn more about enhancing the webinar room here and explore how to tailor your registration page here.
Waiting Room: Pre-Webinar Engagement
To customize the pre-webinar experience, open the Customization Sidebar under Customize Experience, select the Room tab, and click Waiting Room.
Countdown
You can choose whether attendees will see a countdown before the webinar starts. If enabled, the countdown begins 15 minutes before the scheduled start time. If the webinar is not live when the countdown ends, a message will inform attendees that it will begin shortly. You can modify the countdown timing in Settings → Webinar Setup.
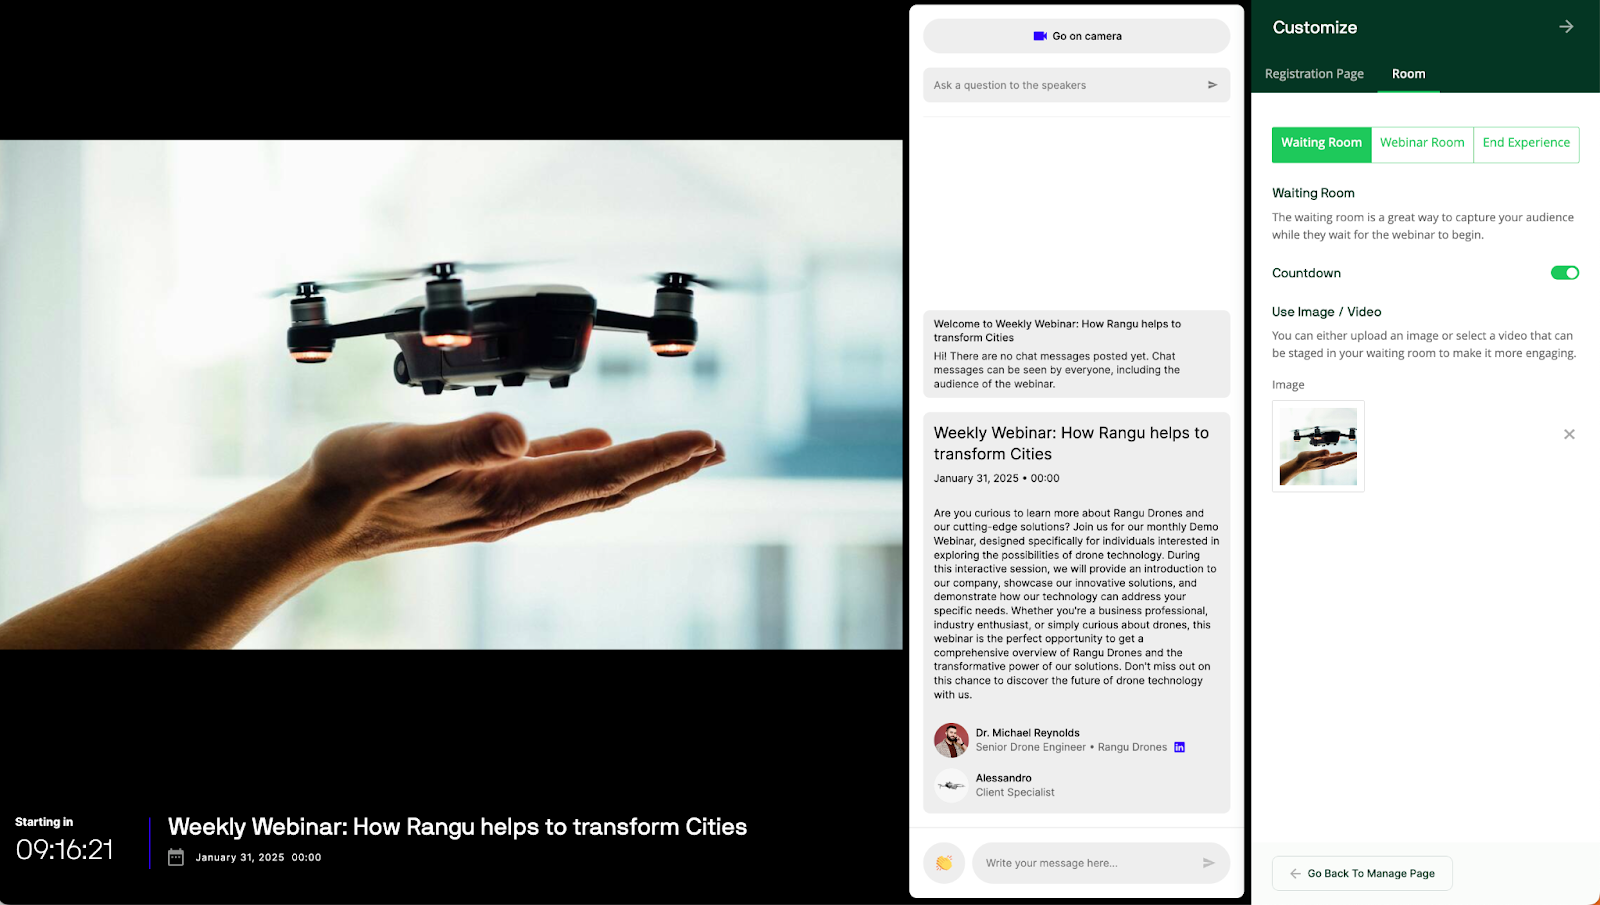
Use Image / Video
To make the waiting experience more engaging, you can display an image or video:
Upload an Image: Click Upload Image and select a file from your computer.
Select a Video: Click Select Video and search for a video already uploaded to TwentyThree. This video will loop in the waiting room until the webinar begins.
End Experience
To customize what happens after the webinar ends, navigate to End Experience in the Room tab.
Thank You Message
You can display a message to thank attendees for joining. This includes:
A title and body text that can be formatted as needed.
A Save button to ensure your message is stored and displayed correctly.
Image or Video Display
Similar to the waiting room, you can upload an image or display a video at the end of the webinar:
Upload an Image: Click Upload Image and select a file from your computer.
Select a Video: Click Select Video and choose a pre-uploaded video from TwentyThree.
Redirect Link
Instead of a static thank you message, you can redirect attendees to another page. This could be a registration page for your next webinar, a feedback survey, or additional resources. To enable this:
Click Redirect Link
Enter the URL of the destination page
With these options, you can ensure a seamless and immersive experience for your attendees before, during, and after the webinar.
Chat conversation only works if you have concented to all cookies. Modify your cookie settings using the button on the bottom left or send an email to team@twentythree.com